
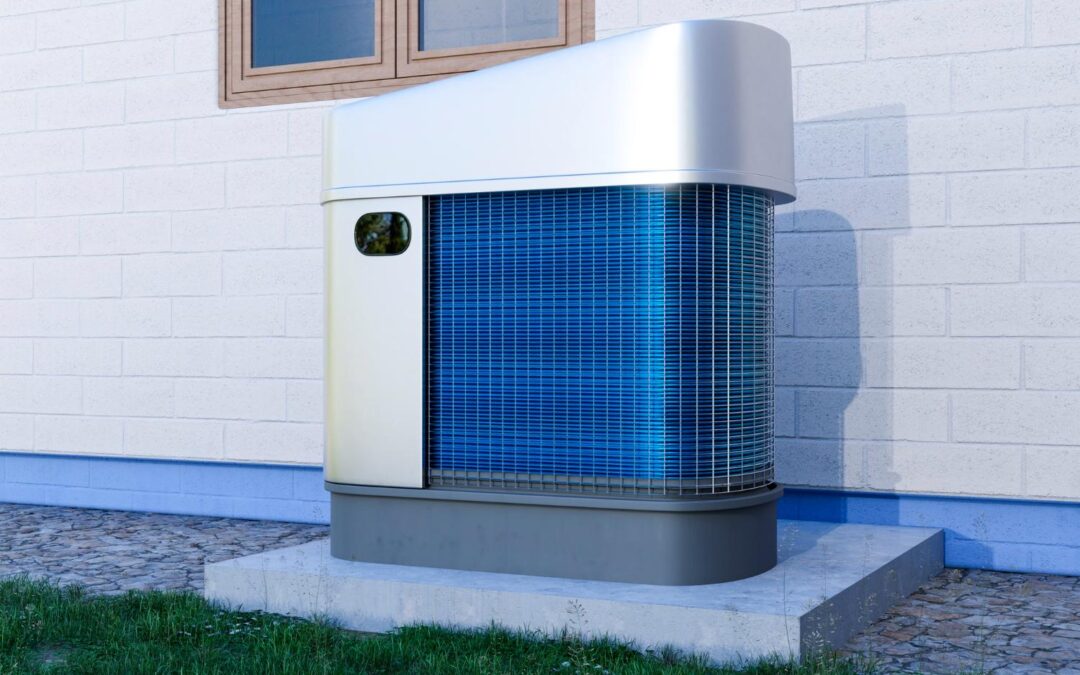
If you want to enjoy your pool even when the weather turns chilly, installing an electric pool heater is a smart choice. Electric pool heaters are efficient, easy to use, and can extend your swimming season significantly. If you’re considering installing one yourself, this step-by-step guide will walk you through the process in a clear and simple way.
Installing an electric pool heater might sound complicated, but with the right tools and instructions, it can be done safely and correctly. Before you start, it’s important to understand how these heaters work and to make sure you have all the necessary materials ready.
What Do You Need Before Starting?
To install an electric pool heater, you’ll need a few essential tools and materials:
- Electric pool heater unit
- Screwdrivers and wrenches
- PVC pipes and fittings
- Pipe glue or cement
- Teflon tape
- Electrical wiring and conduit
- Voltage tester
- Safety gloves and goggles
Make sure your heater is compatible with your pool size and electrical system. If you’re unsure, consult the manufacturer’s manual or a professional electrician.
Step 1: Turn Off the Power and Prepare the Area
Safety first. Before you start any installation, turn off the power supply to the pool’s electrical circuit at the breaker box. This will prevent any accidental shocks during the process.
Clear the area around your pool pump and filter system where the heater will be installed. You need enough space to work comfortably and connect the pipes and wires.
Step 2: Connect the Heater to the Pool Plumbing
Your electric pool heater needs to be connected to the pool’s water circulation system. Locate the return line from your filter, which sends clean water back into the pool.
Using PVC pipes, connect the heater’s inlet to the filter’s return line. Use pipe glue or cement to secure the joints and prevent leaks. Then, connect the heater’s outlet to the pool return line leading back to the pool.
Make sure the pipes are tightly connected and sealed. This step is important to ensure water flows correctly through the heater without leaks.
Step 3: Electrical Wiring Setup
Electric pool heaters require a proper electrical connection to function safely. Depending on your model, you may need a dedicated circuit with the right amperage.
Run electrical wiring from your breaker panel to the heater’s control box. Use conduit to protect the wires from damage. Before you start wiring, double-check the voltage requirements in the heater’s manual.
Connect the wires according to the color codes—usually black for hot, white for neutral, and green for ground. Use a voltage tester to make sure the power is off before handling wires.
If you’re not comfortable with electrical work, it’s best to hire a licensed electrician for this part. Incorrect wiring can be dangerous.
Step 4: Mount the Heater
Most electric pool heaters come with mounting brackets or feet. Place the heater on a solid, flat surface near the pool equipment area.
Secure the heater in place using the provided hardware. Make sure it’s stable and positioned so the pipes and wires are not stretched or strained.
Step 5: Test the System
Once everything is connected, turn the power back on at the breaker box. Turn on the pool pump and check for leaks around all pipe connections.
Set the heater’s thermostat to the desired temperature and monitor the system. You should feel warm water coming back into the pool within a short time.
If you notice any problems like leaks or no heat, turn off the system immediately and double-check all connections.
Conclusion
Installing an electric pool heater yourself can save money and give you a sense of accomplishment. By following these simple steps carefully, you can enjoy warm, comfortable pool water all year round.
In conclusion, remember to prioritize safety, follow the manufacturer’s instructions, and don’t hesitate to ask for professional help when needed. Happy swimming!